

Manage Machines in Rostoc
Rostoc can connect to one or more Machines. Machines has its own place in the sidebar — press G then M to open it.
Looking for compatible roasters? See Supported Machines for supported models and connection options.
If you are setting up your first Machine, see Add Your First Machine for a step-by-step walkthrough. This page covers ongoing management.
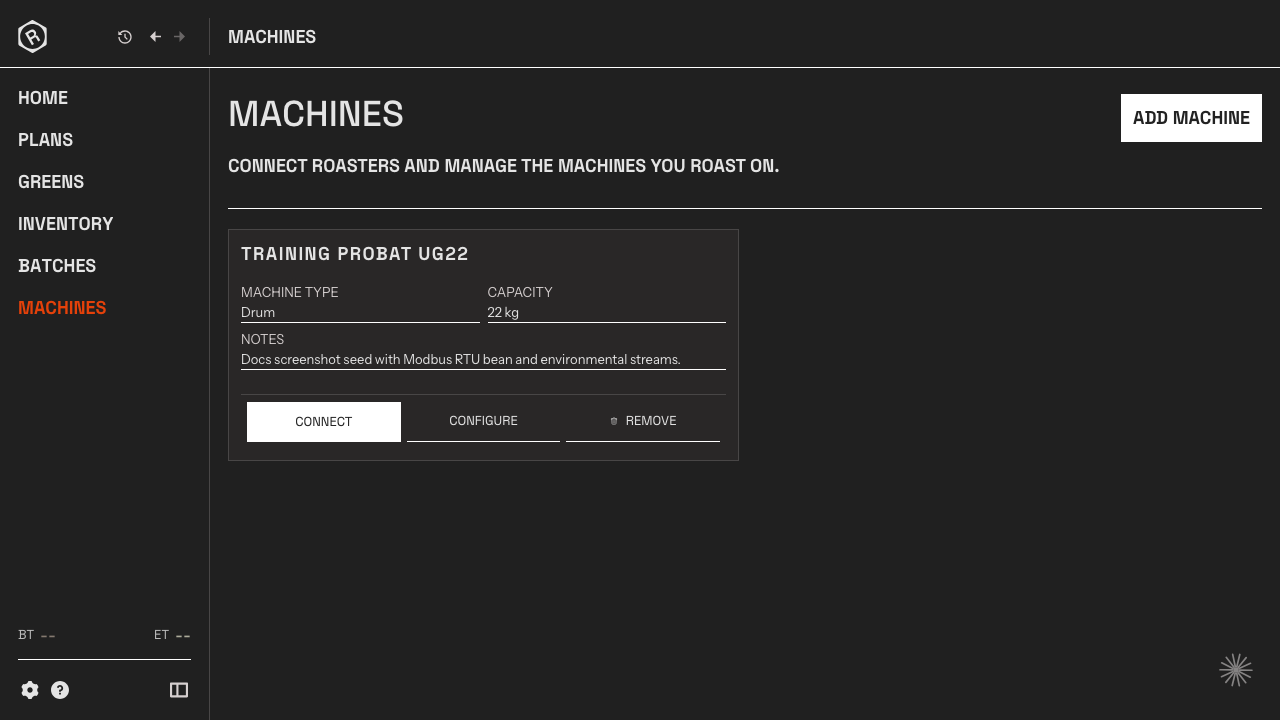
Your Machine list
Section titled “Your Machine list”The Machines screen lists every Machine you have added. Each entry displays:
- The Machine name you gave it
- The manufacturer and model (if selected from the catalog)
- The current connection status
The Machine currently selected for roasting has a highlighted indicator. Only one Machine can be active at a time.
Live data and direct control are separate capabilities. A Machine can send temperatures to Rostoc without accepting control commands. Check the model’s catalog page, then read Machine controls for access, compatibility, and safety requirements.
What the status indicator means
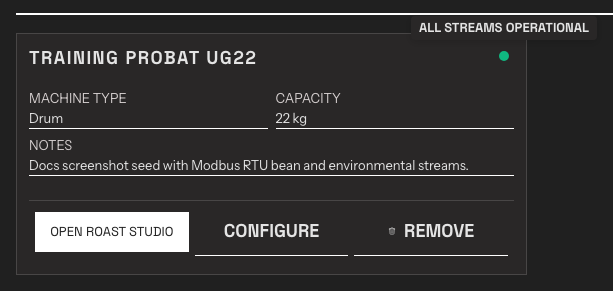
Section titled “What the status indicator means”Each connected Machine shows a status dot next to its name. Hover over the dot to see the details behind it.
The dot reflects what is happening right now: Rostoc keeps checking that readings are actually arriving, so the status changes within seconds when data stops flowing — even if the Machine connected successfully earlier.
| Indicator | Meaning |
|---|---|
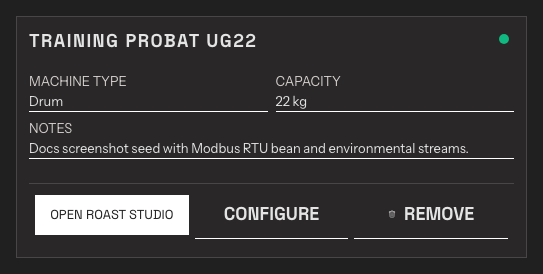
| Green | Connected and healthy — hovering shows All streams operational. If a Machine only sends certain readings while a roast is running, the dot stays green and the hover text says which readings it is waiting for. |
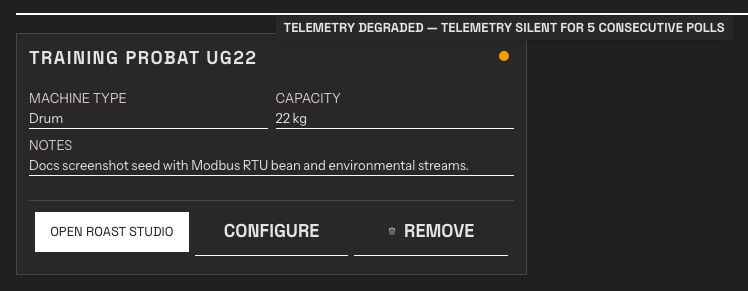
| Amber | Connected, but something is wrong. Either a specific reading stream could not be read, or telemetry is degraded — readings have stopped arriving even though the connection is still up. The hover text explains which, e.g. Telemetry degraded — telemetry silent for 5 consecutive polls. |
| Blue (pulsing) | Connecting. |
| Red | The connection failed — hovering shows Connection failed — click Connect to retry. |
| No dot | The Machine is not connected. Click Connect to connect it. |
A Machine that is not connected shows no dot at all:
An amber Telemetry degraded status usually means a cable, network, or Bluetooth problem between the computer and the machine, or another program claiming the same connection. See greyed-out readings and degraded status for what to check.
Some machines only send readings while a roast is running. Their entry shows a note — This machine sends readings only while a roast is running — and the status stays green while Rostoc waits for the first sample.
What Rostoc reads from your Machine
Section titled “What Rostoc reads from your Machine”Every connected Machine sends Bean Temperature and Exhaust Temperature, which Rostoc records with their Rate of Rise. On machines that share more, Rostoc records and charts additional channels alongside them:
- Control channels — gas, airflow, and drum speed, drawn in their own chart area below the temperature Curve.
- Extra temperature probes — such as drum or inlet, drawn on the temperature Curve.
- Other readings — such as air pressure, energy, or humidity.
Which channels are available depends on the model and connection — the machine’s catalog page lists them. Everything recorded is saved with the Batch, and the Style & Colors section of the Machine’s settings controls how each channel is drawn.
Add another Machine
Section titled “Add another Machine”Click + Add Machine to add a new Machine. Choose the path that matches what you already have:
- Import from Artisan — start here when you already have the Machine working
in Artisan. Import the
.asetsettings file so Rostoc can bring over the existing connection details. - Browse Catalogue — use this when you do not have an Artisan setup file. Search by manufacturer or model, then check the support status. Supported and experimental catalog entries can pre-fill the connection settings; Coming soon entries let you request support.
- Set Up Manually — enter connection parameters directly when you have exact setup details and no matching import or catalog path. Manual setup is primarily for Modbus TCP and Modbus RTU. Catalog entries can also include Kaleido, Kaffelogic Nano 7, Nucleus Link, Phidget USB, and selected Ethernet, USB, and serial connections.
After saving, Rostoc selects the new Machine. Supported catalog entries may also connect automatically. If Rostoc shows a connection test, run it before relying on the setup for production logging. If the connection fails, open the Machine’s connection settings and run Test Connection again after checking the setup.
Switch the active Machine
Section titled “Switch the active Machine”Click Use to make a connected Machine the active one. Rostoc will use this Machine the next time you open Roast Studio.
Edit a Machine’s settings
Section titled “Edit a Machine’s settings”Open a Machine from the list to edit it. The Machine settings window fills the screen, with the sections listed on the left:
- Machine Details — name, manufacturer and model, capacity, notes, and the per-machine Recording automation setting.
- Connection — the connection type and its parameters.
- Controls — which Machine controls are enabled, for Machines that support direct control.
- Style & Colors — how this Machine’s channels are drawn on charts.
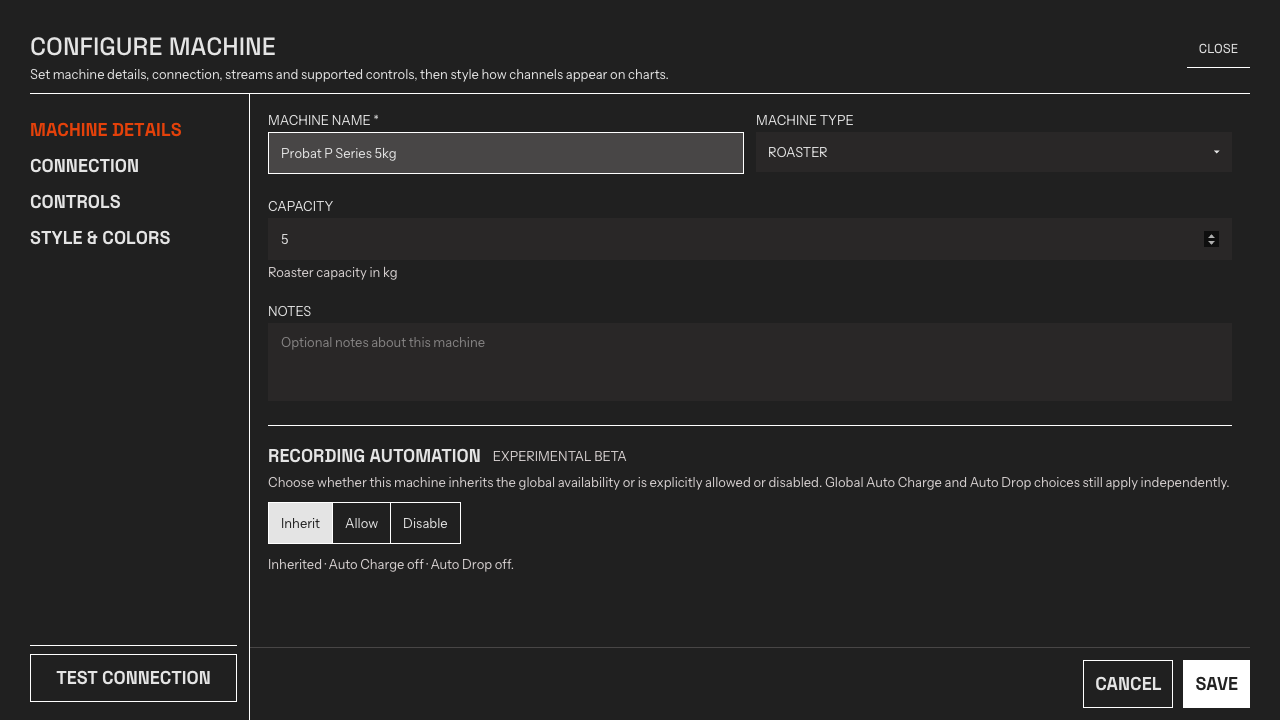
The Machine settings window. Machine Details holds the per-machine Recording automation choice; Test Connection sits below the section list.
Click a section to jump to it, make your changes, then click Save. Use Test Connection at any time to check the setup — for Nucleus Link this opens a guided connection test. Renaming a Machine or changing its settings does not affect your roast history.
Remove a Machine
Section titled “Remove a Machine”Open the Machine menu and choose Remove. Removing a Machine does not delete any Batches recorded with it — the Machine name will still appear in historical records.