

Add Your First Machine
Rostoc needs a Machine entry before it can read live data. If you already use
Artisan, start by importing your Artisan .aset file. That gives Rostoc the
best chance of preserving the setup you already trust.
Step 1 — Open Add Machine
Section titled “Step 1 — Open Add Machine”In Rostoc, go to Machines in the sidebar — or press G then M. Click Add Machine.
Step 2 — Choose the right setup path
Section titled “Step 2 — Choose the right setup path”There are three ways to add a Machine. Choose the path that matches what you already have.
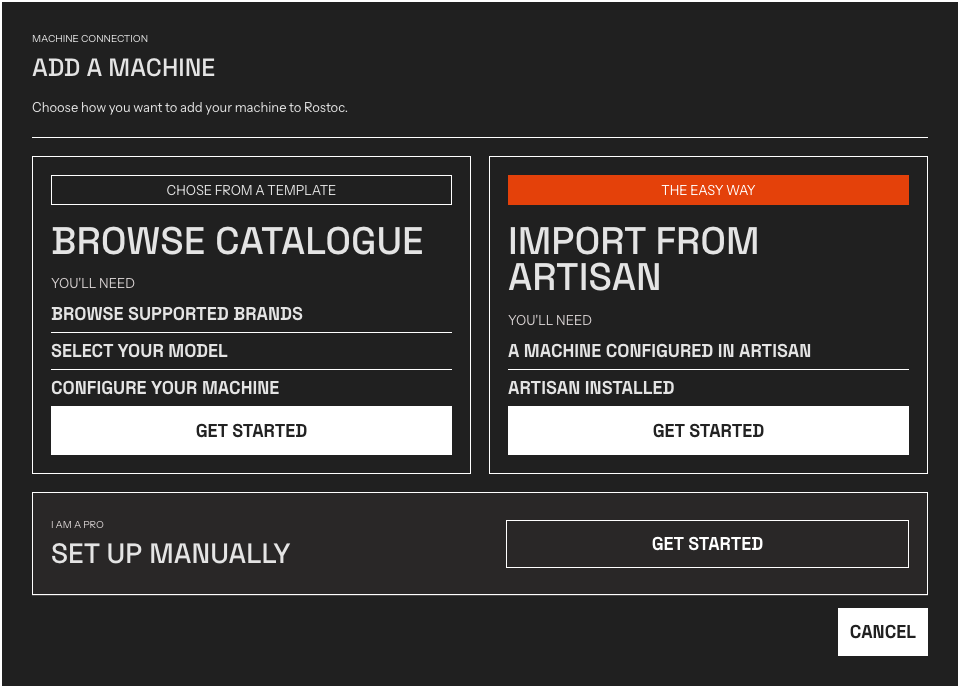
The Add a Machine dialog. Pick Import from Artisan, Browse Catalogue, or Set Up Manually.
Import from Artisan — Use this first when you already have the Machine set
up in Artisan, even if Browse Catalogue appears first on screen. Rostoc can
use the .aset file to preserve connection details you already trust.
Browse Catalogue — Use this when you do not have an Artisan setup file. Search by manufacturer or model name, then check the model’s support status. Supported and experimental entries can pre-fill connection settings; Coming soon entries let you request support. Not sure whether your roaster is in the catalog? Browse the full machine compatibility directory — every model’s page lists its support status, connection type, and setup steps.
Set Up Manually — Use this last, when you have exact connection details and no matching Artisan or catalog path. Manual setup currently focuses on Modbus TCP and Modbus RTU. Catalog entries can also include Kaleido, Kaffelogic Nano 7, Nucleus Link, Aillio Bullet USB, Phidget USB, and selected Ethernet, USB, and serial connections. Check the Machine page before relying on a setup for production logging.
If you’re not sure how to configure your Machine, contact us — we can help.
Step 3 — Complete setup and save
Section titled “Step 3 — Complete setup and save”For Import from Artisan, open Help in Artisan, choose Save
settings…, then import the .aset file into Rostoc. Rostoc creates the
Machine and selects it for you.
For Browse Catalogue, choose the brand and model, enter the Machine name, review any connection fields Rostoc shows, and click Add or Add Machine.
For Set Up Manually, enter the exact connection and stream details from your Machine documentation, then save the Machine.
Step 4 — Confirm the connection
Section titled “Step 4 — Confirm the connection”Rostoc selects the new Machine after it is saved. For supported catalog entries, Rostoc will also try to connect after saving. If Rostoc shows a connection test, run it before relying on the setup for production logging. If the connection fails, check the Connection Troubleshooting page.
A successful telemetry connection does not mean the Machine accepts direct commands. If you plan to control gas or heat, airflow, or drum speed from Roast Studio, check the model’s catalog page and read the Machine controls guide before use.
Your Machine is now ready. The next time you start a roast, Rostoc will connect automatically.